The scan is where a painting becomes a file you can print again. Small choices at this stage follow every copy: dust on the glass, a clipped edge, a pale wash that disappears into white.
The largest print you want to offer is a good place to begin. A same-size print at 300 PPI needs less scan resolution than one enlarged to twice the width and height. Getting that right now saves you from discovering the limit after a buyer asks for a larger size.
 Frameit AI Create
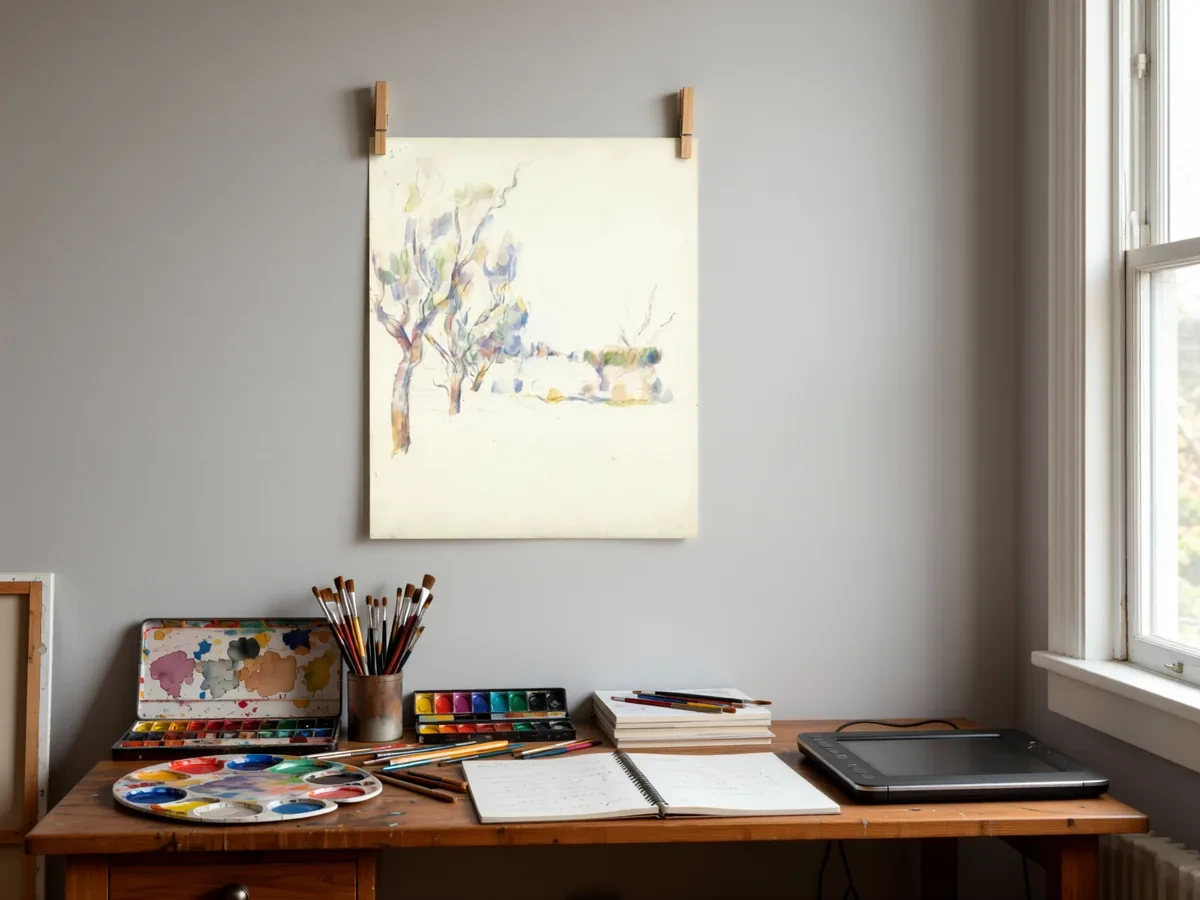
Original artwork: Paul Cézanne
Choose the right scan resolution
The common target for prints is 300 pixels per inch at the final print size. Epson’s scanning guidance, for example, uses 300 dpi for printing and says to raise the resolution by the same amount you plan to enlarge the image. That gives a simple formula:
Scan dpi = 300 × (print size / original size)
Use the long side of each for the ratio. Example arithmetic:
| Original (inches) | Print (inches) | Enlargement | Scan at | Pixels you get |
|---|---|---|---|---|
| 9 × 12 | 9 × 12 | 1x | 300 dpi | 2700 × 3600 |
| 9 × 12 | 18 × 24 | 2x | 600 dpi | 5400 × 7200 |
| 11 × 14 | 22 × 28 | 2x | 600 dpi | 6600 × 8400 |
| 8 × 10 | 24 × 30 | 3x | 900 dpi | 7200 × 9000 |
| 16 × 20 | 8 × 10 | 0.5x | 150 dpi (300 for flexibility) | 2400 × 3000 or more |
A few rules of thumb:
- Scan for the biggest print you’ll sell. You can always make a smaller file from a big scan, but you can’t add real detail to a small one.
- Stay within the scanner’s optical resolution. Settings above it are interpolated: the file gets bigger without new detail. Check the optical figure in your scanner’s specs.
- Expect large files. Epson notes that an 8.5 × 11 inch original scanned at 300 dpi can produce a file of about 24 MB. Scanning in 48-bit roughly doubles that, and doubling the dpi makes the file about four times larger.
Prepare the artwork and the scanner
- Make sure paint, ink and fixative are completely dry.
- Clean the scanner glass with a soft microfiber cloth. Spray any glass cleaner onto the cloth, never onto the glass.
- Remove loose debris only where it can be done without disturbing the medium. Avoid brushing fragile marks or loose pigment.
- Place the artwork face down, square to the edge of the glass, with a little space around it.
- Close the lid gently. If the piece is too thick for the lid to close, cover the scanner and artwork with a dark cloth to keep room light out.
For charcoal, soft pastel or a fragile surface, choose photography to avoid contact with the scanner glass. Fixative does not by itself establish that pressing a work against glass is suitable.
Keep a scan you can return to
The advanced mode in your scanner software usually gives you more control over what is being recorded. For artwork on paper, use reflective scanning and color capture, even for a pencil drawing if you want to retain the paper tone. Choose the resolution from the enlargement you need.
Automatic sharpening, restoration and dust removal can change marks that belong to the work. Starting with those corrections off makes it easier to see what the scanner actually captured. A preview with a little room around the sheet also avoids losing an edge before editing begins.
A full-resolution TIFF is useful as the master. You can return to it when you need a new crop or size, and make JPEG copies for the web. The first full-size inspection should include the darkest and palest parts, where lost detail is easiest to miss.
Scanning artwork larger than the scanner
If the artwork is bigger than the glass, scan it in sections and merge them.
- Plan the sections so each one overlaps the next by at least an inch or two.
- Keep the artwork the same way up for every section, and only slide it between scans.
- Use identical settings for every section, with auto exposure off, so the brightness matches.
- Merge the sections with the panorama or photomerge tool in your photo editor, then check the seams at 100% for color or alignment steps.
For work much larger than the scanner, or for a piece you’ll scan once, photographing it or using a professional scanning service is usually easier.
Scanner or camera?
| Artwork | Best capture method |
|---|---|
| Ink, pencil, watercolor, gouache or marker on paper | Scanner |
| Prints, collage with thin layers, small works on board | Scanner |
| Oil or acrylic with raised texture | Camera |
| Stretched canvas or glossy varnish | Camera |
| Anything much larger than the scanner glass | Camera or scanning service |
For the camera route, see how to photograph artwork for selling online.
Proof the difficult details before printing the whole image
After straightening and cropping the scan, find three areas to inspect: the palest wash, the darkest passage and the finest line. Include a seam if you stitched several scans.
Export a small test sheet containing those details at the scale of your largest intended print. Ask your printer to output that sheet at 100%, with scaling disabled. This lets you inspect enlargement quality without paying for a full large print.
Compare the proof with the original under consistent light:
- Do pale pencil marks still appear?
- Are neighboring dark tones distinct?
- Does the paper retain its character?
- Can you see a stitching seam or a repeated cleanup mark?
Correct dust and scanning artifacts carefully. Preserve marks that belong to the artwork. Setting the paper to pure white can erase pale paint, so check the lightest details as you adjust.
Keep the full-resolution TIFF master separate. Export print copies using the lab’s requested profile and web copies in sRGB. Resizing and sharpening belong on those copies.
Keep the approved proof with the final file
Once a proof looks right, note the file name, paper and print date on its back. Keep it as a reference for reprints. If you change paper or printers later, you have a physical copy to compare against.
Photograph its front and surface details for the listing. If you also make a framed preview, use the same final file, with the same crop and border.