Print on demand is appealing when the studio is running out of room for boxes. A print is made when someone orders it, and the provider handles the packing and shipping.
You give up some control along with that work. The paper choices, packing and delivery become part of the product your customer receives. A sample order is a good way to find out whether that trade suits your work.
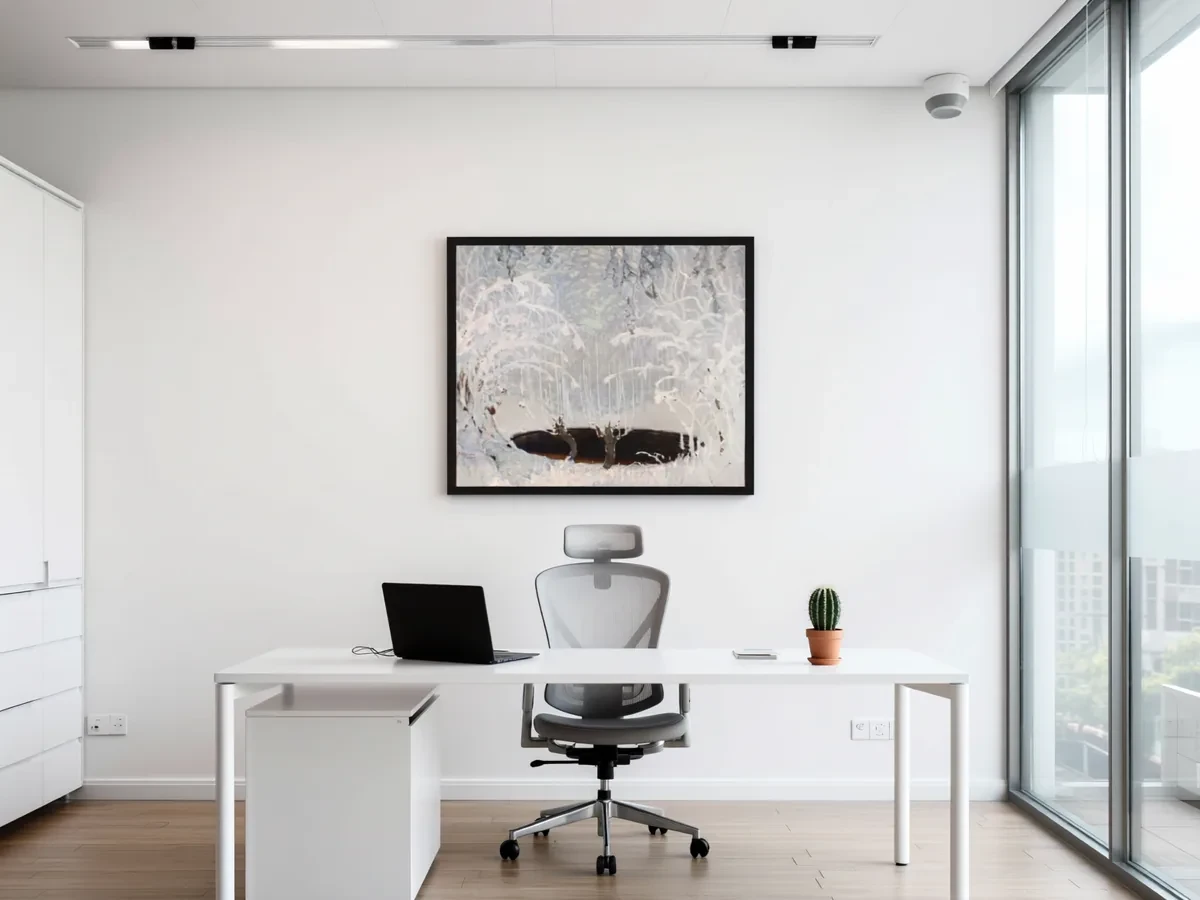 Frameit AI Create
Original artwork: Ferdynand Ruszczyc
What leaves the studio, and what stays with you
With print on demand, the artwork file goes to a provider and the physical print is made after an order arrives. The provider handles production and delivery, while the selling arrangement determines who sets prices, brings buyers and answers questions.
| POD marketplace | POD provider connected to your shop | |
|---|---|---|
| Who brings buyers | The marketplace’s own shoppers | You, through your Etsy shop, website or social media |
| Who sets the price | Usually the marketplace sets a base price and you choose a margin | You set the full retail price |
| Branding | The marketplace’s brand comes first | Your shop name, and sometimes your own inserts |
| Customer service | Mostly handled by the marketplace | Usually you |
| Best for | Getting work seen with little setup | Building your own brand and customer list |
That distinction matters. A marketplace can place your work among its other products. A provider connected to your own shop sits behind your offer; from the customer’s point of view, the print is still coming from you. The amount of customer contact can be quite different.
Decide whether POD solves your actual problem
| Your situation | What POD could help with | What you still need to check |
|---|---|---|
| You have little storage space | Prints are made after orders arrive | Sample quality and delivery costs |
| You want to test demand for a new series | You can begin without a bulk print run | Whether the margin supports the selling price |
| You want to sign every copy by hand | Direct fulfillment may complicate that | Whether prints can come to you first, and the extra shipping |
| You need a particular paper or exact finishing | The available catalog may be too limited | A physical sample against your requirements |
| You dislike packing but sell through your own shop | The provider handles fulfillment | Customer questions, replacements and order exceptions |
Write down the problem you want to remove before choosing the service. If it is storage, POD may fit well. If it is color control, moving fulfillment out of your studio may require more testing.
Start with the smallest offer that lets you check the whole process. Expand after the samples and order economics support it.
Prepare print files that print well
Most problems with POD prints start with the file, not the printer. Work through these steps before you upload anything.
- Capture the artwork at high resolution. Scan flat work, or photograph larger pieces evenly lit and square to the camera. See How to scan artwork for prints.
- Match the aspect ratio. Sizes with different ratios need different crops. One file can serve every size with the same ratio.
- Check the pixels. Pixels needed = inches × DPI. Size the file to the actual print dimensions, as providers ask.
- Use the color profile your provider wants. Printful asks for files in the sRGB IEC61966-2.1 profile and advises against converting to CMYK yourself.
- Read each product’s file guidelines. Bleed, borders and safe areas differ by product and provider.
| Print size (inches) | Aspect ratio | Pixels at 150 DPI | Pixels at 300 DPI |
|---|---|---|---|
| 8 × 10 | 4:5 | 1200 × 1500 | 2400 × 3000 |
| 11 × 14 | 11:14 | 1650 × 2100 | 3300 × 4200 |
| 12 × 16 | 3:4 | 1800 × 2400 | 3600 × 4800 |
| 16 × 20 | 4:5 | 2400 × 3000 | 4800 × 6000 |
| 18 × 24 | 3:4 | 2700 × 3600 | 5400 × 7200 |
| 24 × 36 | 2:3 | 3600 × 5400 | 7200 × 10800 |
A practical habit: keep one master file per ratio (4:5, 3:4, 2:3 and 11:14) and name it by ratio, not by size. When a provider adds a size, you will know at once which master fits.
The sample order is part of choosing the product
A sample tells you more than whether the printer is sharp enough. It tells you how the paper feels, whether the border is even, and what happens to the corners on the way to the door.
A pale watercolor is a useful test of light tones; an ink drawing shows how fine edges reproduce. Comparing the print with the original in daylight can reveal a color shift that was hard to judge from the provider’s product images.
Keep the packaging long enough to inspect it as well. If this is the package every buyer will open, it is part of the offer. Photographing the approved sample gives you real material details to use in the listing.
Price and list your POD prints
Build the retail price from the bottom up:
Retail price = provider cost + shipping you don’t charge separately + marketplace and payment fees + your profit
Check the provider’s current cost for every size, because a price that works for 8 × 10 can lose money at 24 × 36. Round up to a clean price and keep your size ladder consistent.
If you sell on Etsy, three rules from Etsy’s help pages apply to POD prints:
- POD is allowed for your own original designs, and you must disclose the production partner on the listing. Buyers see it in your shop’s About section.
- Your shipping location should reflect where the partner ships from.
- Etsy’s Listing Image Requirements let you use a mockup to show an original design printed by a production partner.
Build the listing around the sample you received
Photograph the paper surface, edges, actual frame and packaging. Let that sample establish which border and frame the buyer receives. Describe a white border printed on the sheet separately from an added mat.
For an additional room view, you can try the same artwork crop in Frameit. Keep accurate product photographs for the supplier’s framed item; a similar color or profile in a digital preview does not establish the actual materials.